
Blog Posts and Videos
Worm Farm: making a house for the worms

Step 1: Procure 3 tubs. Not clear since worms like it dark.

Step 2: Take two of the tubs and drill holes in the bottom of both tubs. It does not have to be perfect-the worms will never know.

Step 3: drill holes along the top 3 inches of the same 2 tubs. This will allow your worms to breathe and not suffocate.

Step 4: Get a drain with a turn valve (from plumbing section of local hardware store)
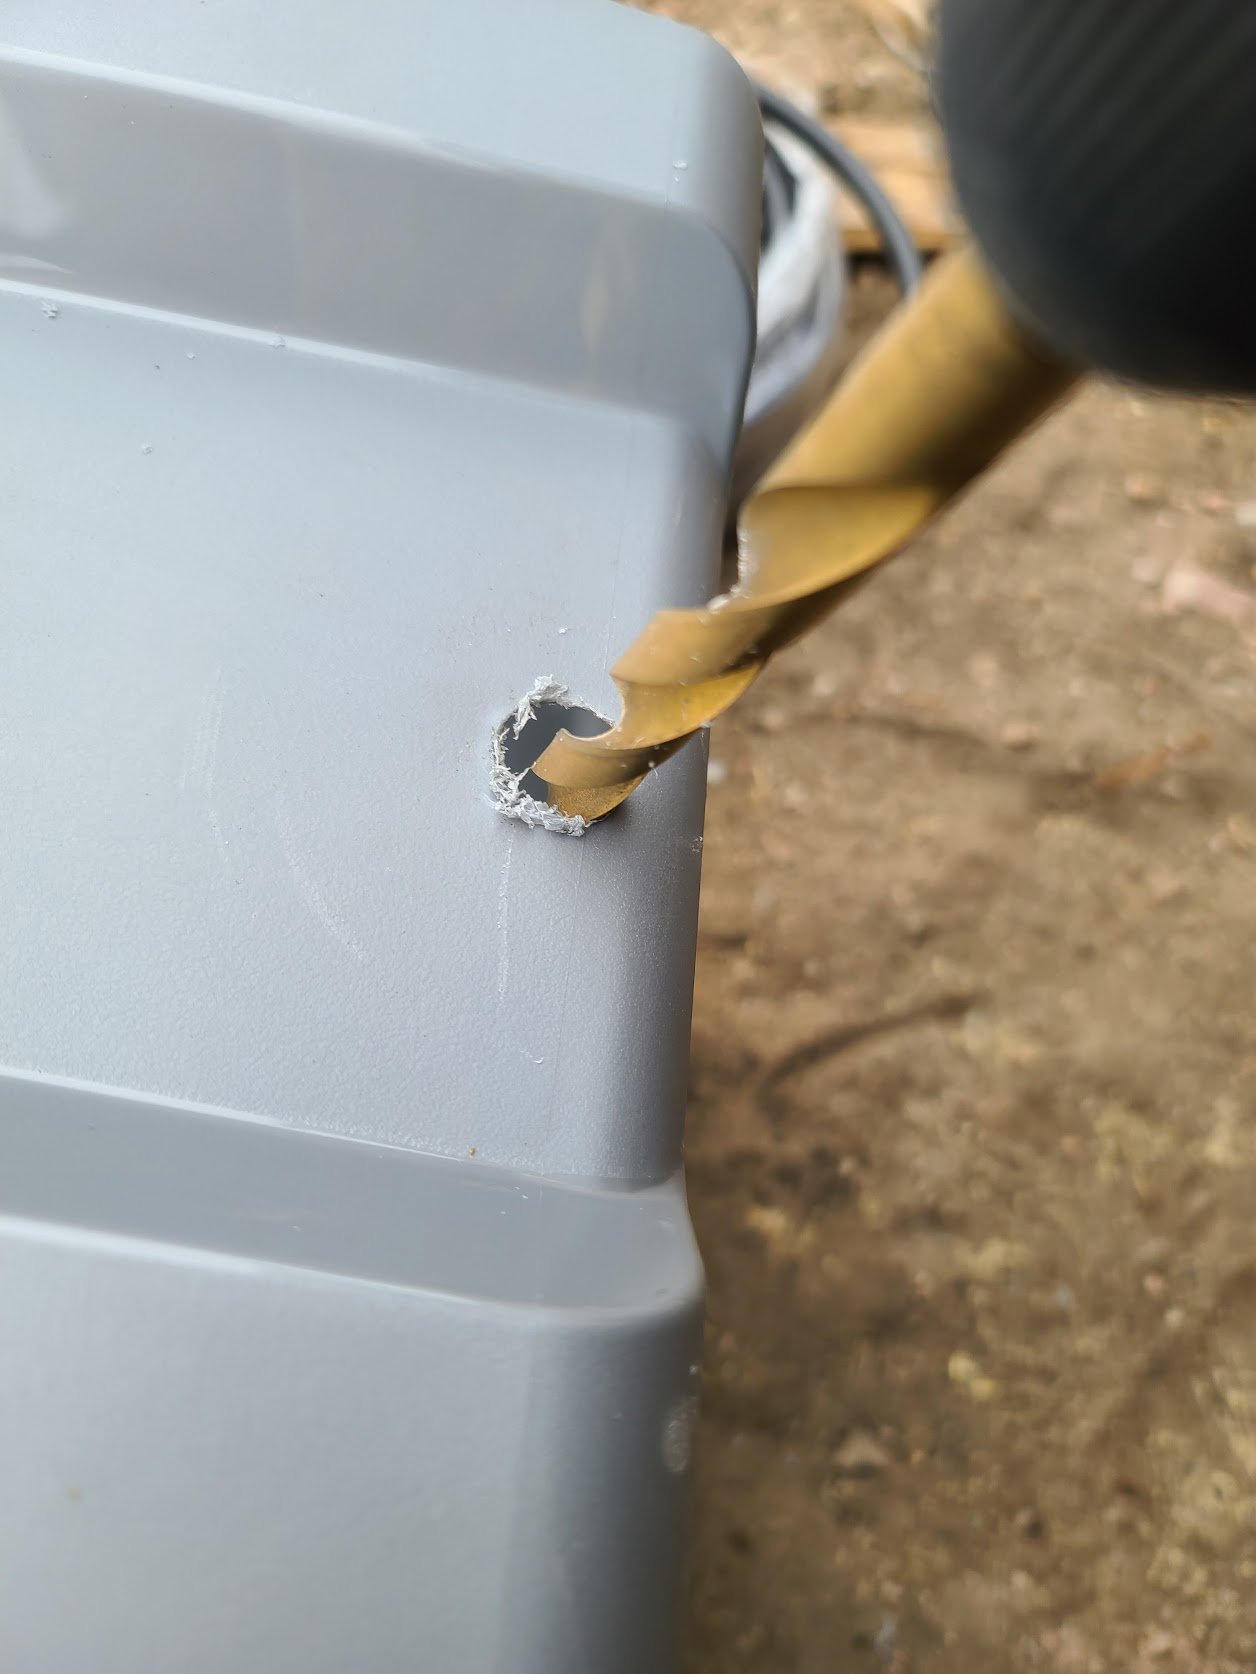
Step 5: take the 3rd tub that you set aside (the only tub without any holes) drill a hole big enough for your drain to fit through. It should be close to the edge of the tub.
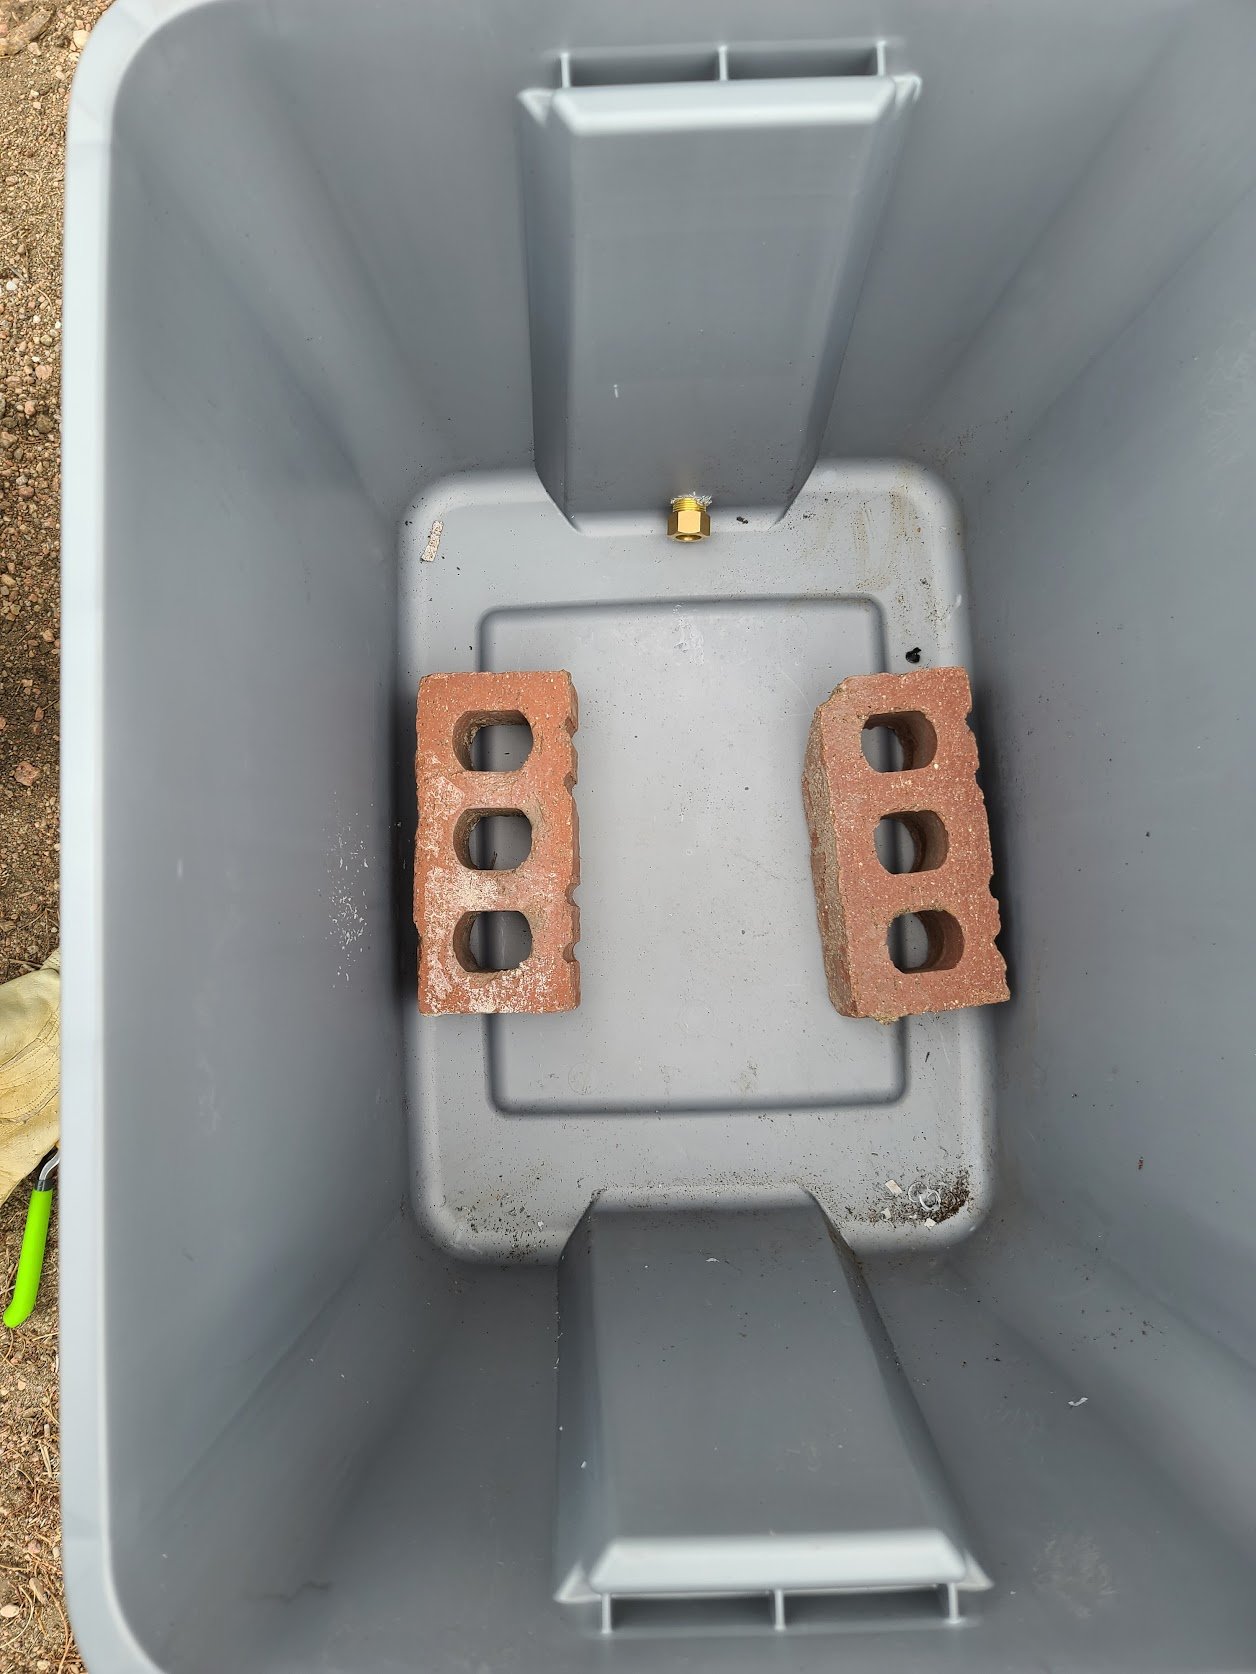
Step 6: put two bricks in the bottom of the tub with the drain.
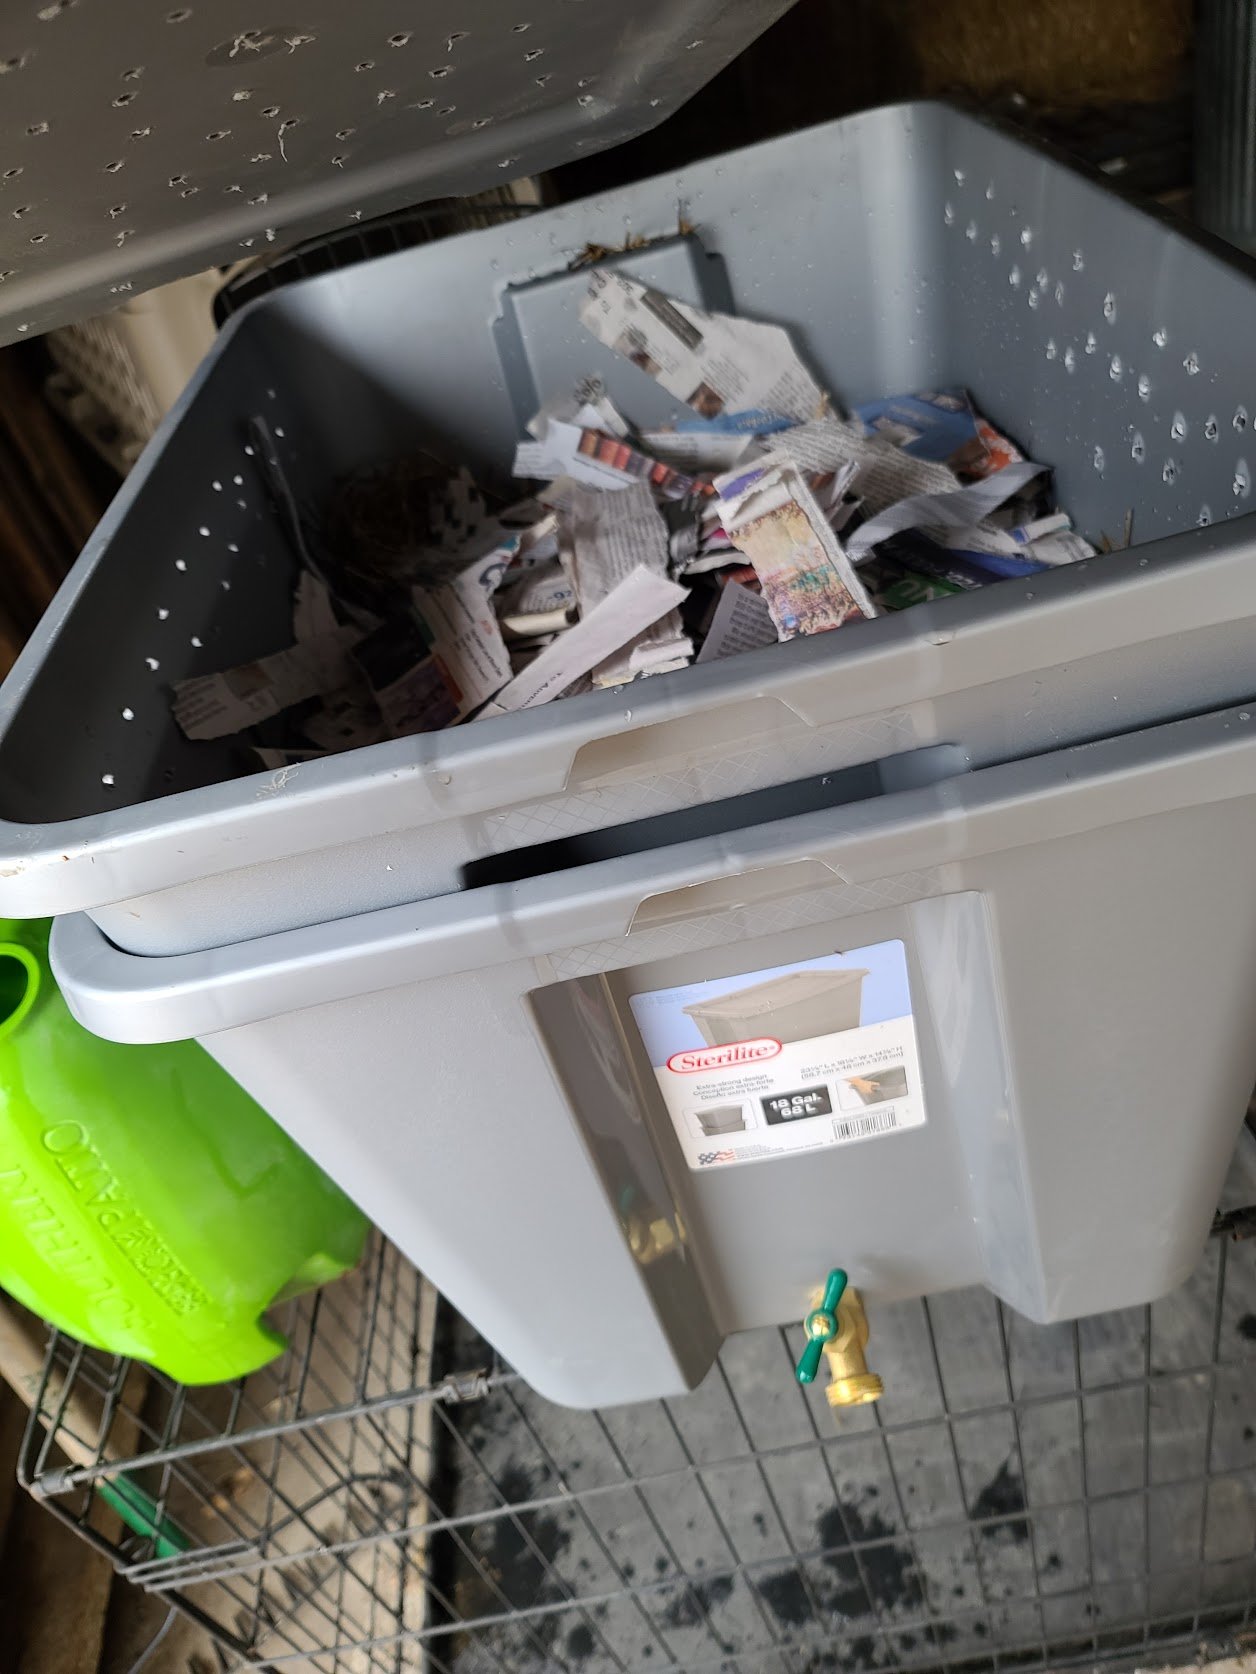
Step 7: Add another tub on top. The bricks will allow it to stand a little taller. Fill with newspaper scraps, cardboard, dirt, coffee grinds, coco coir...anything that will retain moisture and house your new friends.
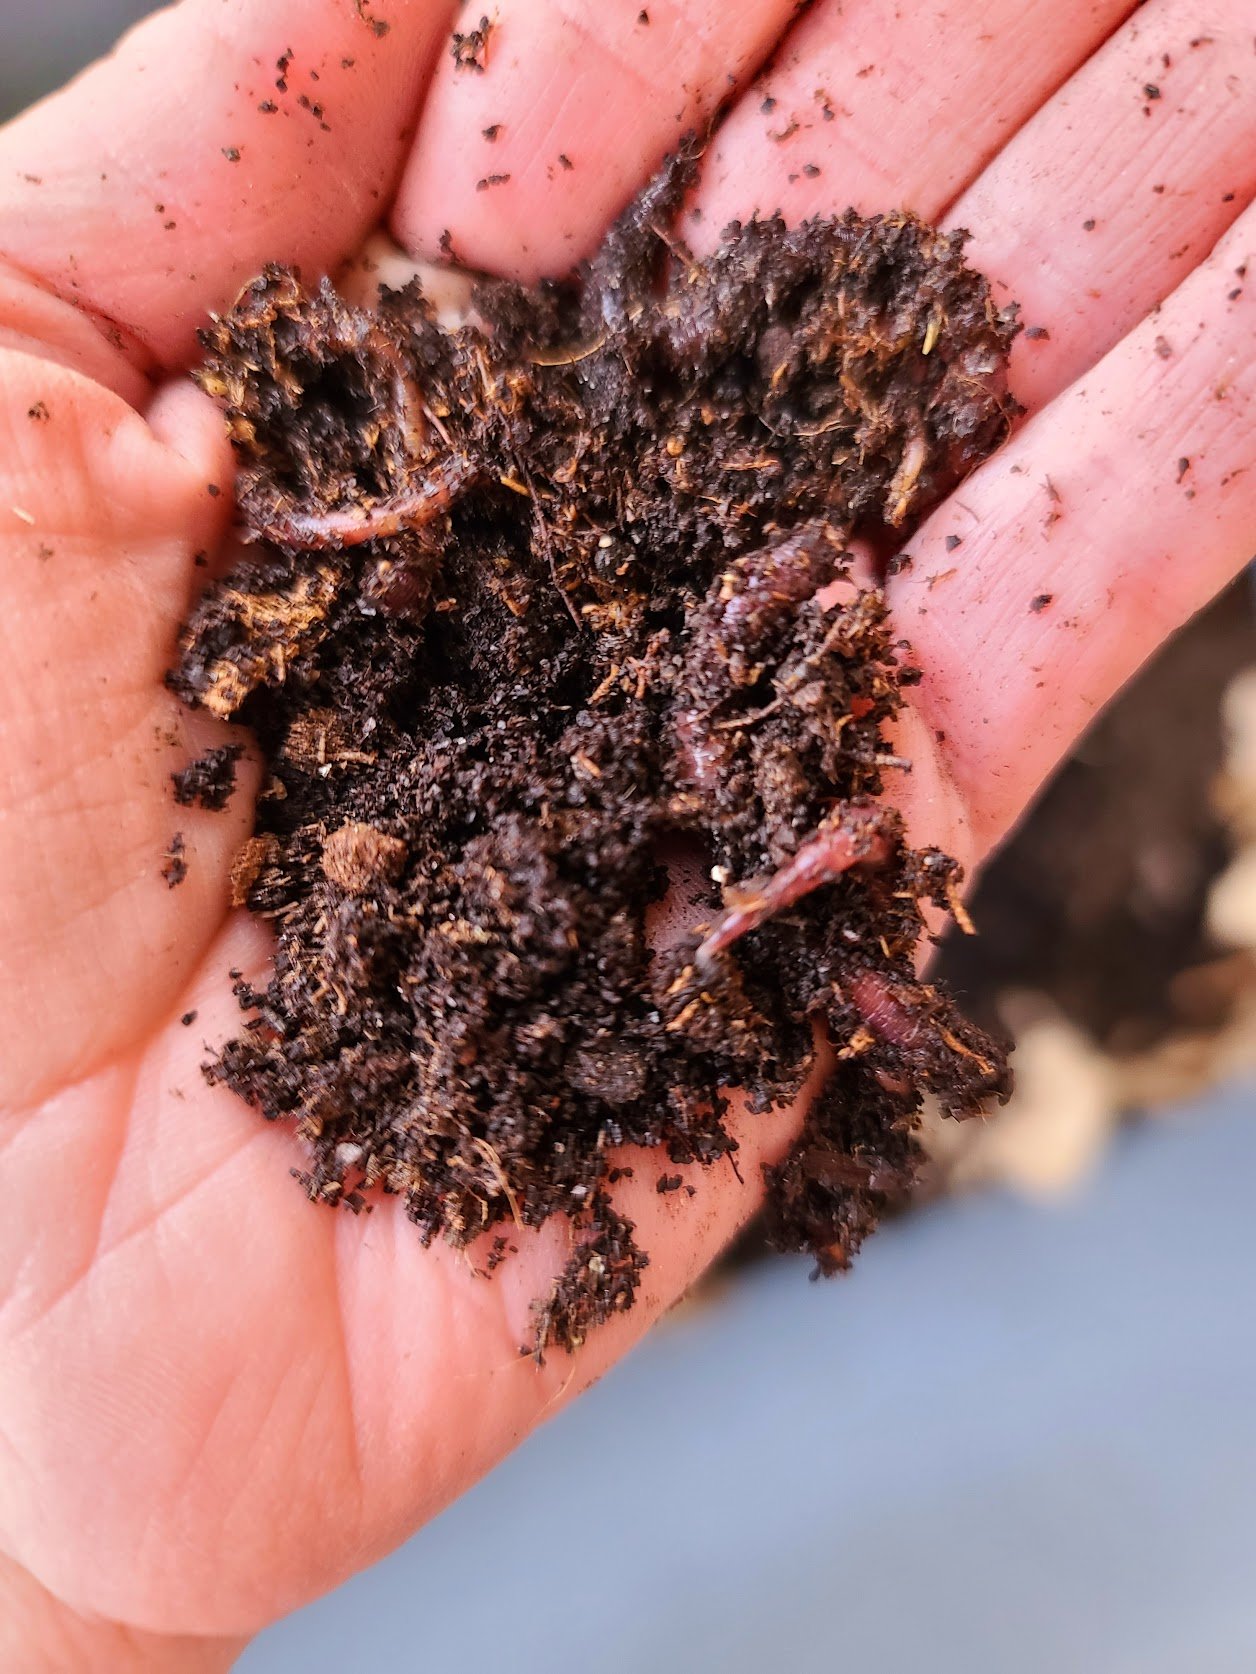
Step 8: Add your friends to their new home
How to Take Care of your Worms:
When you add the food, move the top layer of dirt to the side, sprinkle the food and then cover with dirt again.
Things to feed your worms: blueberries, bananas, dead plants, eggs, coffee grinds, lettuce, potato peels. If you chop it up they can consume it easier and make castings quicker.
Things NOT to feed your worms: Oil, acidic foods (tomatoes, oranges), meats, dairy.
**Your worm bin should never smell bad. If it smells bad the worms might not be eating the food and it might be rotting. Try feeding them less.
Stir your worm bin to allow air circulation every week or so and water when it seems dry. Keep in a cool, dark place. Do not put in the sun or out in freezing temperatures or you will kill all of your valuable dirt-making employees.
Worms can go 6 weeks without giving them food…they just eat the dirt/cardboard in their house so do not worry about leaving them for a vacation.
How to plant Tulip and Daffodil Bulbs into the ground for a cut-flower bed.
Putting Tulip and Daffodil bulbs into the ground for a cut-flower bed is different compared to landscaping with tulips/daffodils. You want to put the bulbs close together to force them to grow tall. When you are ready to cut them, you actually pull the entire bulb up.